How to Install Emprise WP Theme For Travel Agencies?

The Emprise theme is one of the most feasible and easy-to-use WordPress themes for travel agencies. It’s not just an ordinary WordPress theme but a friend to all the tour operators looking for more innovation in their website and higher revenue. This blog will teach you how to install Emprise WP Theme easily to develop your travel agency’s website.
The theme has all those features that tour booking agencies need to increase their online presence and revenue. So, if you start your tour agency website development journey, you can experience the goodness of a perfectly designed and developed tour booking WordPress theme.
Nevertheless, to ensure that tour operators can easily install the theme, here is a short documentation on installing the Emprise WP theme for your travel agency.
What are the basic requirements for travel agencies to install the Emprise WP theme?
There are a few things that you need to have to be able to install the Emprise WP theme. So, ensure all these requirements are fulfilled before developing your travel booking website with the Emprise tour booking theme.
- WordPress Version: Ensure that you are running at least a 6.0 Version of WordPress.
- PHP Version: PHP version 7.4 or greater is needed to install the Emprise theme for travel agencies.
- MySQL Version: The Emprise theme requires the MySQL version 8.
Did you check? Are all these pre-requirements available in your system? If yes, you can install the Emprise tour booking WordPress theme without hassle.
But WAIT!
We would have to tell you something more before you set up on a journey with the Emprise theme. Do you have the WordPress version mentioned above? If not, here is a simple way to Install the latest version of WordPress. Also, you have already installed WordPress but still need clarification about how to start with it?
How do you Install the Emprise WP theme for travel agencies?
Are you done and dusted with downloading and understanding the basics of WordPress CMS? Well then, let’s get started with installing the Emprise WP theme.
Once you have completely installed the latest WordPress version and ensured your system fulfills the criteria set above, installing Emprise is anyone’s cup of tea.
The first thing to do is download the Emprise theme package in your system and unarchive emprise-wp. Once you do that, you will notice four different folders:
- emprise
- emprise-child
- demo-content
- extensions
Check out all these folders; you can install the theme if they are available. Here is how you can install the Emprise theme for travel agencies within just five simple steps:
Step 1: Log in to WordPress Admin
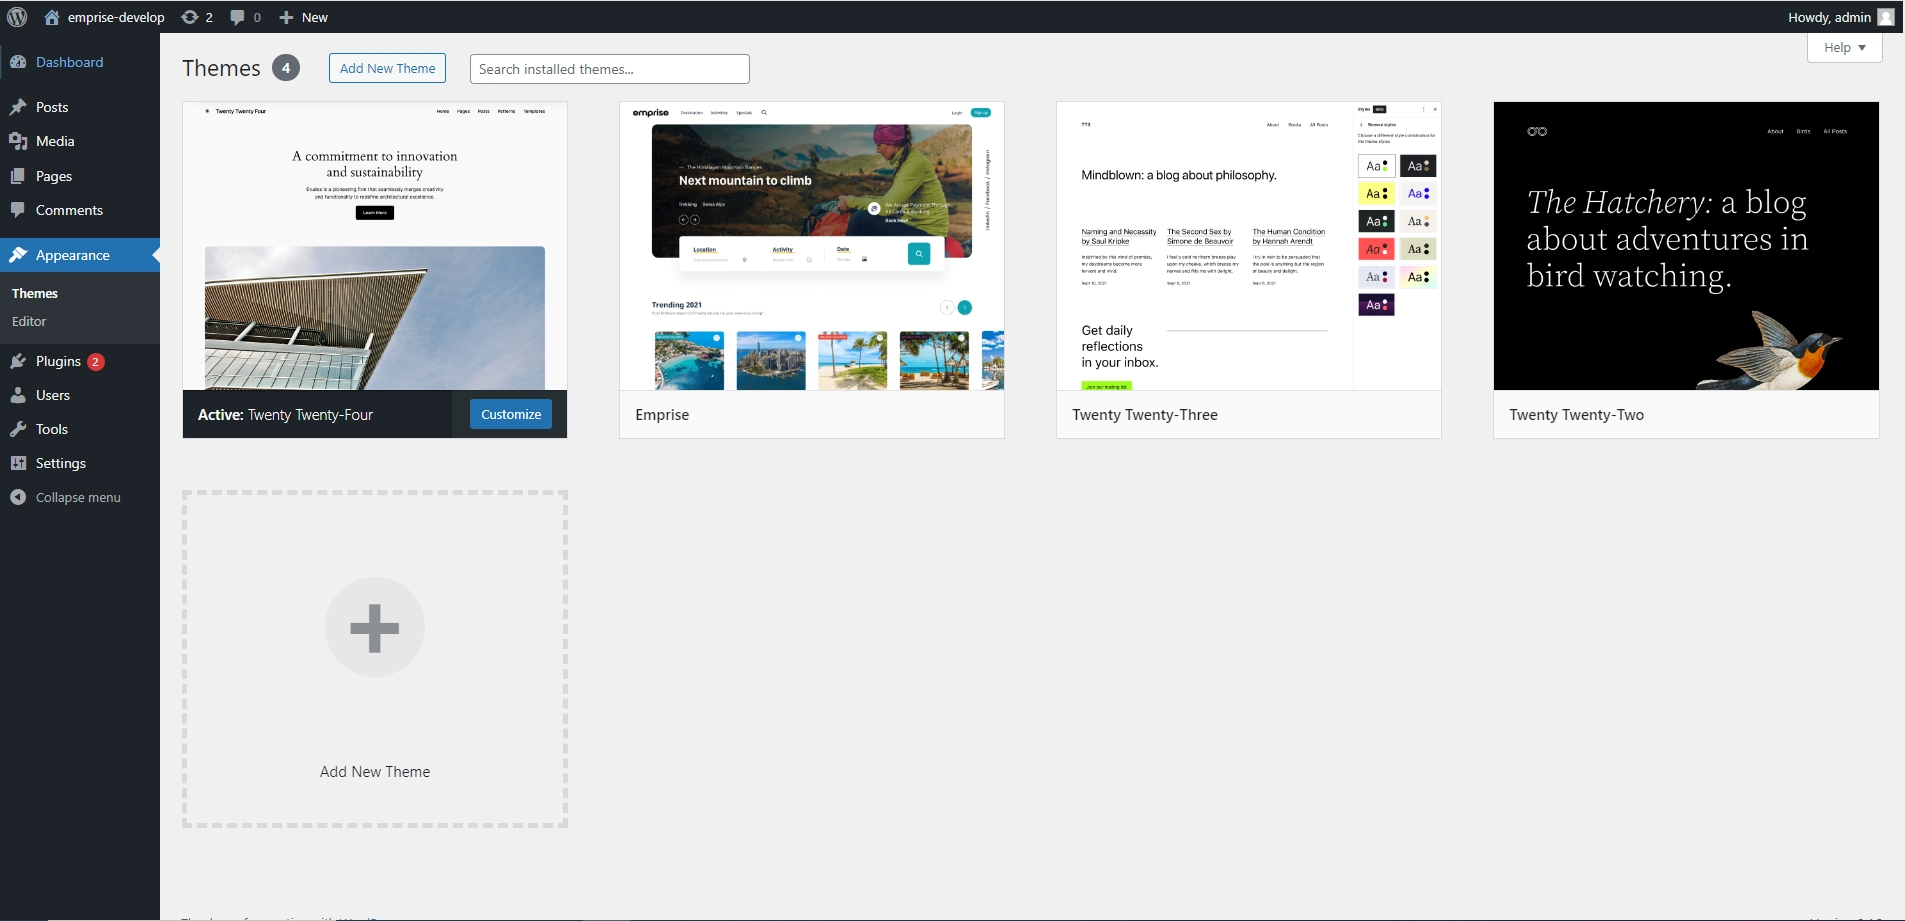
First, you need to log in to your WordPress admin panel and, from there, navigate to the Appearance section.
Step 2: Journey from Appearance to the Emprise Themes
Once you find your way to the Appearance section, you will see Appearance. Click on the Appearance and then on the Add New button. Once you click the Add New button, select the Upload option as you downloaded the Emprise theme.
Step 3: Install the Emprise WP theme
Once you upload the Emprise theme, select emprise.zip and click the Install button while hovering over the theme. This is where the installation process of the Emprise theme for travel agencies is completed.
Note: We strongly recommend you install the Emprise-child zip file before importing the demo content. To do this, go to Appearance → Themes → Add New → Upload Theme and choose the “emprise-child.zip” folder from your download package. After the installation, you will get a successful message, and then you need to “Activate” the just uploaded Emprise Child theme.
Step 4: Activating the theme
Now that you have downloaded and installed the Emprise theme, it’s time to Activate it. To activate the Emprise WordPress travel theme, click the “Activate” link.’
Step 5: Time for the Plugins
Theme alone might not be very efficient, so there are several plugins that you must install after activating the theme. When the theme is installed, you will see a notification on the top that says, “Begin Installing Plugins.” This redirects to the list of all required and recommended plugins by clicking on that link. Select all and click Install.
Once done, click on the “Return to required plugin installer,” where you must select and “Activate” all the plugins.
Note: Plugin Installation might take 4-5 minutes, and between this period, you might see a blank screen but don’t PANIC. Take a chill and wait for the installation and activation of all the plugins.
Updating the Emprise theme for travel agencies
No matter what WordPress theme you install, they all require time-to-time updates. In the case of the Emprise WP theme, the Envato Toolkit notifies you whenever a new theme update is released.
Nevertheless, you should check out some essential things while updating the Emprise travel and tour theme.
- Ensure that you have a backup for WordPress install and database.
- Make sure that the emprise-child theme has all of your customizations and,
- Remember to export your customizer and widget for backup.
These three steps are crucial to follow when updating the Emprise WP theme. If you ignore these steps, the chances of losing all your customizations increase, which is irreversible.
Nevertheless, updating the theme is very simple, and one of the best features of the Emprise theme is that users will be notified about required updates.
Plugins Required for the Emprise Theme
As mentioned above, you must install several plugins to operate and run the theme properly or efficiently. We recommend you install all of these plugins because they are essential for the smooth operation and efficiency of the Emprise WP theme for travel agencies.
- Elementor: Importing the demo might be a way of developing a website quickly with the Emprise WP theme. However, there might be better ways for anyone who wants to customize the website per their reference. For that, we recommend you install the Elemetor plugin. In the case of the Emprise theme, the element or plugin is highly crucial because the pages and posts of the demo will not work without this.
- Contact Form 7: Every tour operating website needs to have a contact option where travelers can leave their queries and from where they can communicate with the tour operators. For that, there are contact page forms on every travel booking website. In the Emprise theme, if you do not install the Contact Form 7 plugin, the contact page form will not be accessible.
- Emprise Elementor Extension and Emprise theme add-ons: These two plugins are essential to access the flexibility of customizing your website with the Emprise theme. Both of these are custom-made plugins and are only available for Emprise.
- WooCommerce: This plugin is essential for any website to list products, categories, and payment options. All these things are impossible to include in a website developed with Emprise without the WooCommerce plugin.
- One Click Demo Import: Right from the name, we can understand the reason requirement of this plugin. You must install the one-click demo import before importing the entire Emprise demo.
These are a few necessary plugins for travel agencies if you use the Emprise WP theme. However, several more plugins help a lot during the development process with this theme.
Conclusion
Following the five steps mentioned above, you can install the Emprise WP theme for travel agencies. Moreover, the features and enhancements that this tour and travel theme in WordPress provide are next-level.
This blog/documentation helps all travel tour operators easily craft the perfect website that reflects their brand identity and helps tour operators choose the ideal theme to develop their travel booking websites.